I am looking for FRONT wheel well pictures that Jeff or Charles (or other folks?) can supply. What would be your suggestions of steps for the application of primer, sealer, and sound deadener? Any photos that show this area around the front wheel wells would be much appreciated as I am wanting to complete my engine compartment and wheel wells. Here is my data plate info:5R07C177968 65A M 26 22A 74 6 5.
1- From what I've seen all surfaces would have received a nice coat of red oxide colored epoxy primer/sealer in the front wheel well when they were shooting the bottom of the front frame rail
2- During this period at San Jose then they would have typically applied seam sealer (from a chalking gun sort of applicator and then the material was spread with a rag dipped in thinner or kerosene or a brush of some form to the firewall to inner fender panel and front frame rail seam. During this period we often find that workers working at that time sealed the rear frame rail to inner fender panel seam for some reason in the same manner. Seams are highlighted in the picture below. NOTE to others viewing the thread - these details differ from other periods of the year
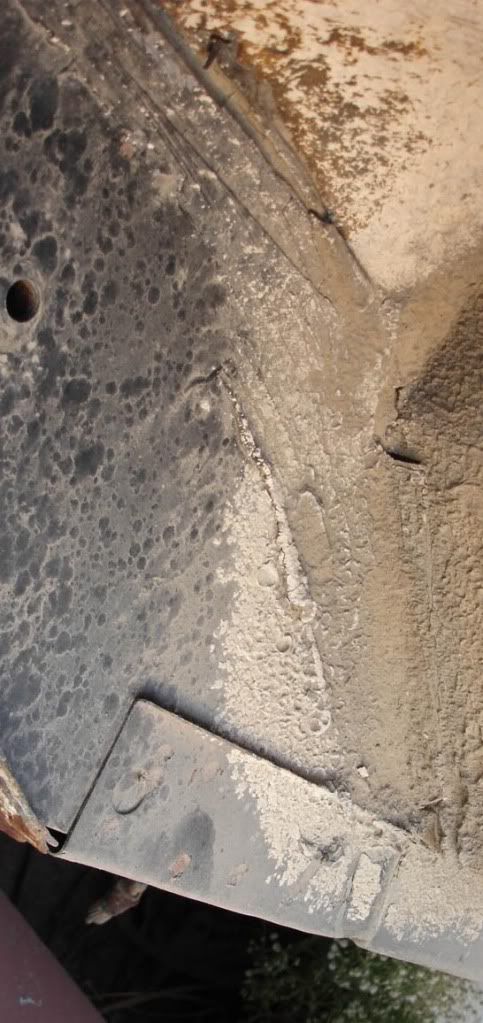
3- Area from where the rear splash shield forward (including the inside of the shock tower) would have received a nice coat of engine compartment black at the same station the engine compartment was painted black. Because of angle and coverage over spray from this operation was allowed to coat brackets that hung down from the front frame rails.
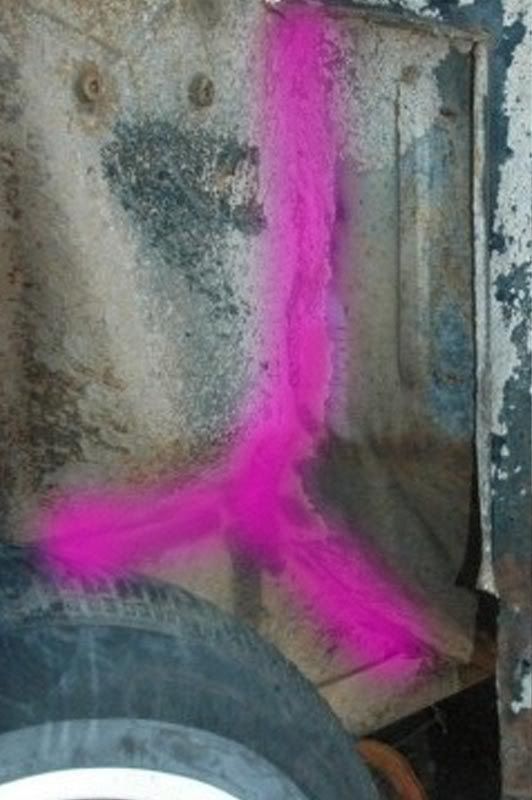
4- After the car was assembled (suspension, front sheet metal, front splash shields....- except front wheel and tire) a worker would apply sound deadener to the front wheel well. The purpose was to seal the water from entering the passenger compartment, deadener road and rain sounds and in some cases protect surfaces from gravel damage in those events. The typical application can best be described as a little or allot. At a minimum the firewall section of the front wheel well received a nice heavy coating of sound deadener. This normally included the rear splash shield surface exposed there also. It should be noted that the deadener was shot from the outside of the car with an somewhat upward angle. So consider this when producing overspray.
A single pass of the application wand from approx the lower rear frame and inner fender junction upward and forward towards the top rear point of the spring/shock cover, where it stops.
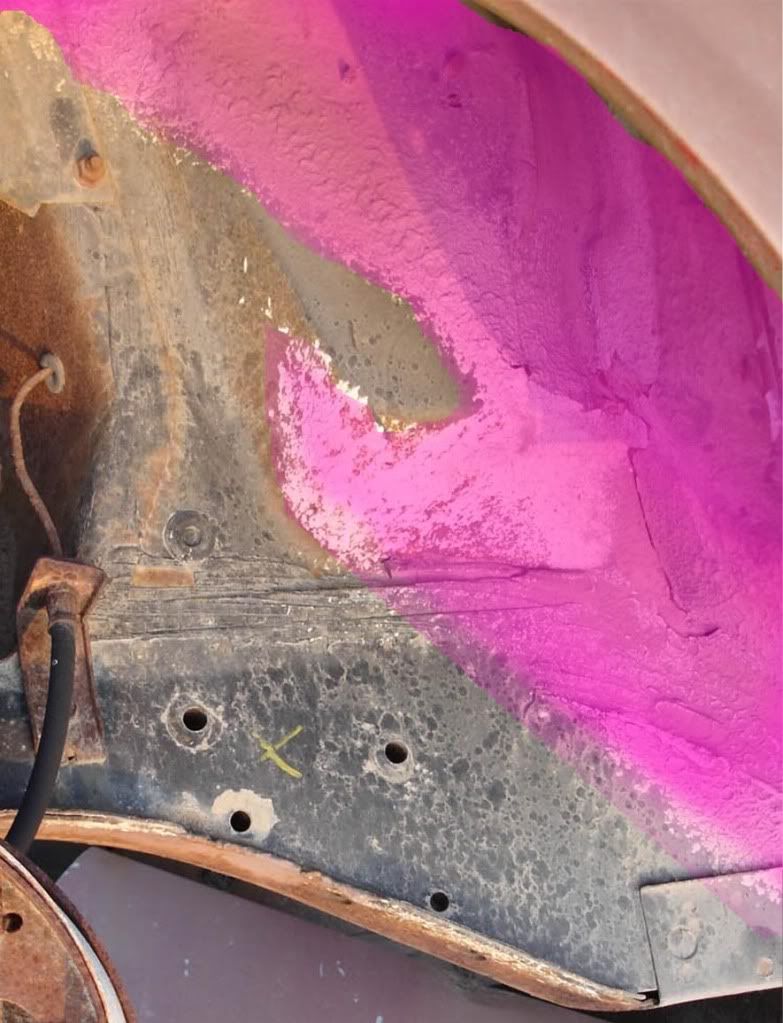
Another pass diagonal from the top front point of the shock/spring cover to the lower front edge of the inner fender panel
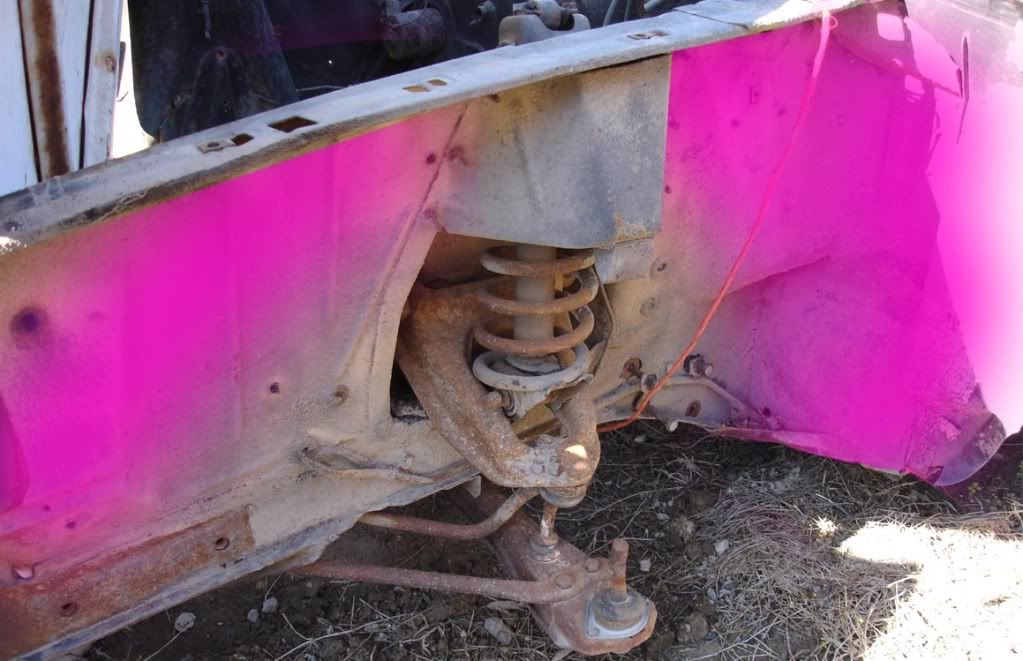
And another short pass over the front splash shield.
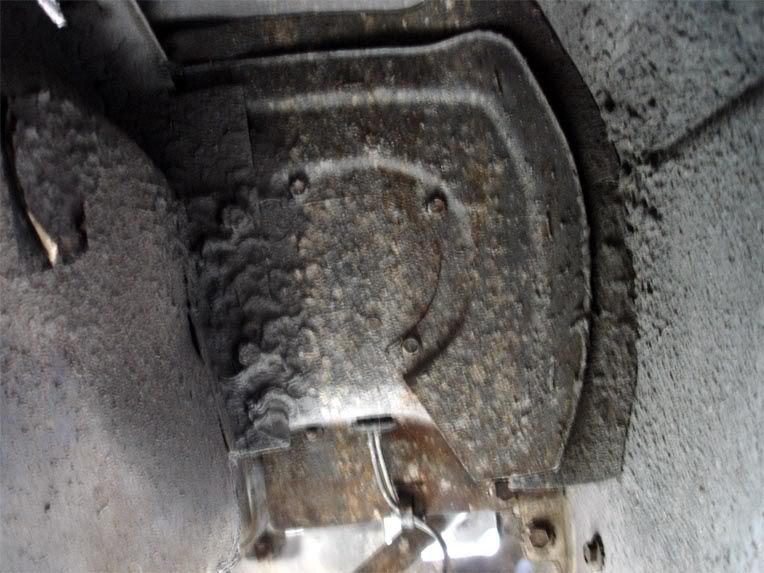
On about approx every 5th - 10th car the worker would make an additional pass of the applicator wand along the length of the bottom of the fender. In most cases the wand pass was wide enough to apply material across the width of the bottom surface of the fender and the bottom of all the mounting bolts at the inner fender.