Doing a project this week and thought I would share some steps I use near the end of the process of developing a new stamp. Up front I would like to remind viewers that my focus in this process was one of three different patterns used during 71 and one of two colors used. So your original may differ from the one I was focusing on and the post is about the process rather than the specific product
- Often I need to let a design set for a couple of days and revisit it for a fresh look as its easy to miss little things that later will stand out
- If the stamp will be used on an item that is painted black I reverse the image so that the stamp is now white or yellow (for example) in the print out
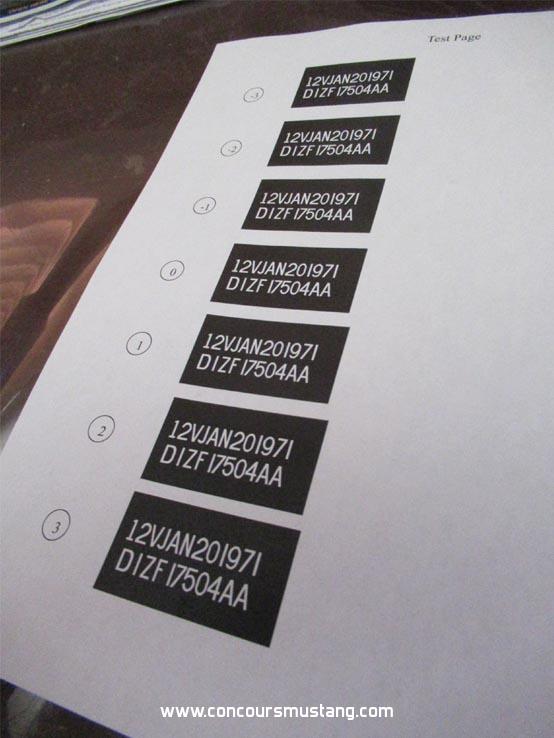
- After I've redrawn the stamp making sure (on multiple line stamps) the lower letters align with the upper line and all the details are as close as possible I take the design and lay it out on a sheet then create copies of the original but reduce and increase the size of the design in predetermined steps on the sheet. Numbering each so I can track each one since when printed the slight size difference is not easy to determine

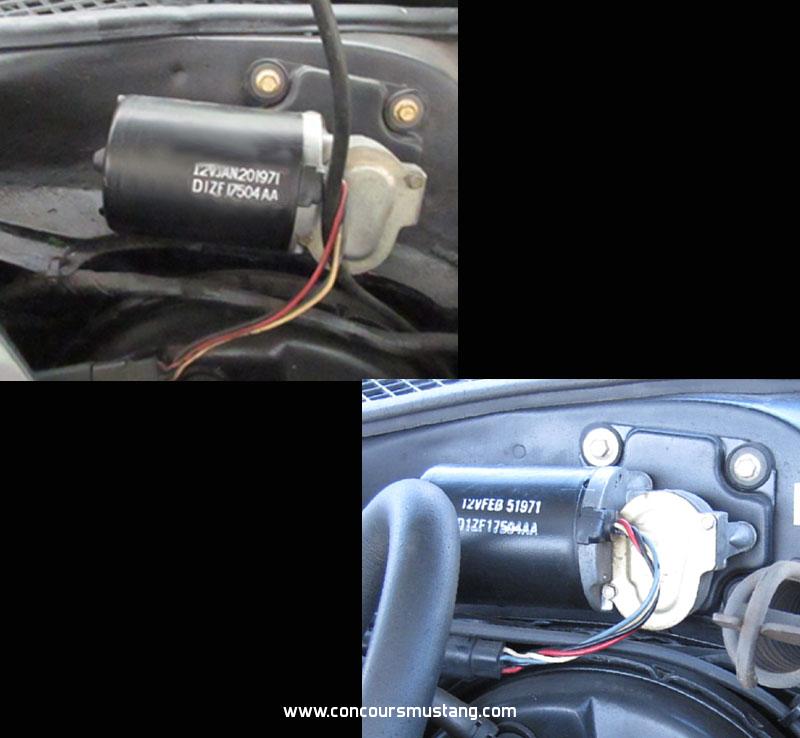
- Next I print out the page, then cut out each step and apply it to an the area or item and eye ball it as well as take a few pictures. From there I compare each to an original in a picture or with an original in hand to choose the best match.

Of course when used as a stamp we will get some expansion and smudging. Something we can not reproduce in this process so you have to account for those factors as you view and compare.
UPDATED: Here is a picture of the application of the stamp. Should have been more careful to keep it in line with the whole surface but I just wanted to get it done and make it quick. Also I let the stamp slide slightly to get that affect. Choose just to leave it as is rather than clean and redo - my car

Note - these were applied using yellow and white during 1971 not sure why the difference at this time.

Hope that by sharing others can benefit.