As you can see, this is my first post on this site. I’ve got a ’70 Boss 302 that I’ve been working on for the last three years and have spent most of my time on the Boss 302 forum. I posted this tip over on the Boss 302 Registry site and thought some might find it useful here as well.
I've begun the not-so-fun task of removing the front suspension to not only replace all of the tired pieces but to detail the front chassis as well. For a project such as this, you can’t get very far without the removal of the coil springs. If you talk to just about any mechanic, the smile quickly leaves their face when you ask them about this job. When I saw a video titled
How Not to Die Removing a Mustang, Falcon, Fairlane Front Suspension (
) and then read on this forum how someone was killed when the spring let go and hit him in the chest, I knew for sure that this was serious business.
The original Ford shop manual calls for a different method than the one used in the above video using a special Ford tool.
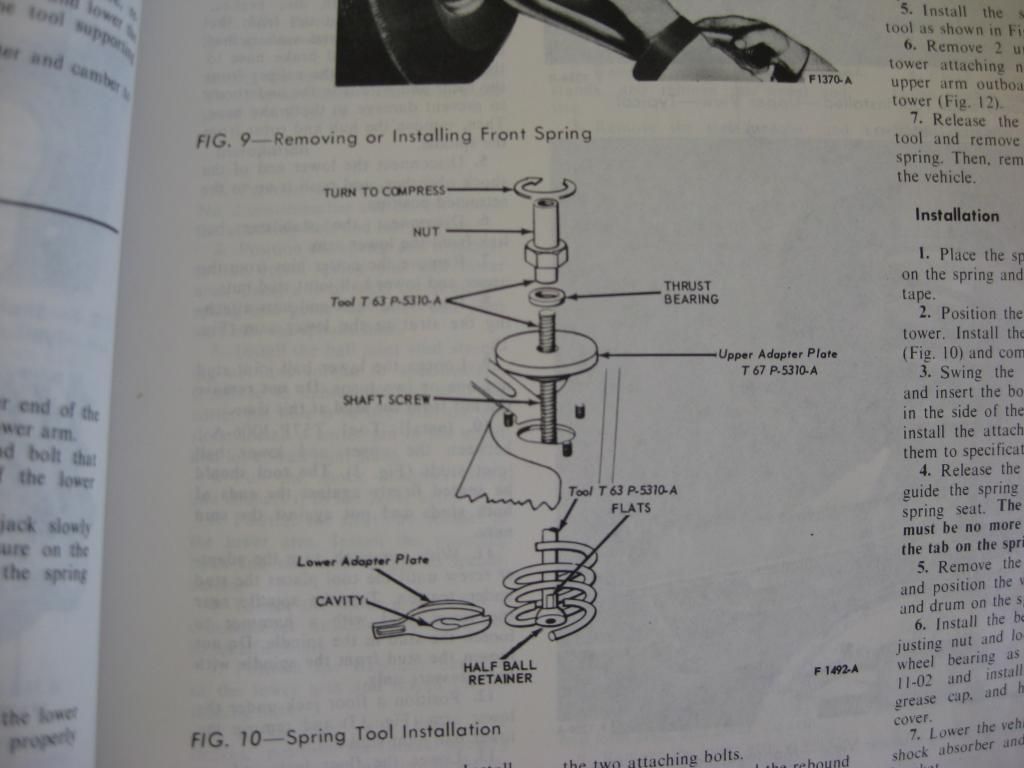
You then compress the spring until it clears the upper A-arm, disconnect the A-arm from the spindle and pivot it out of the way on its own ball joint.
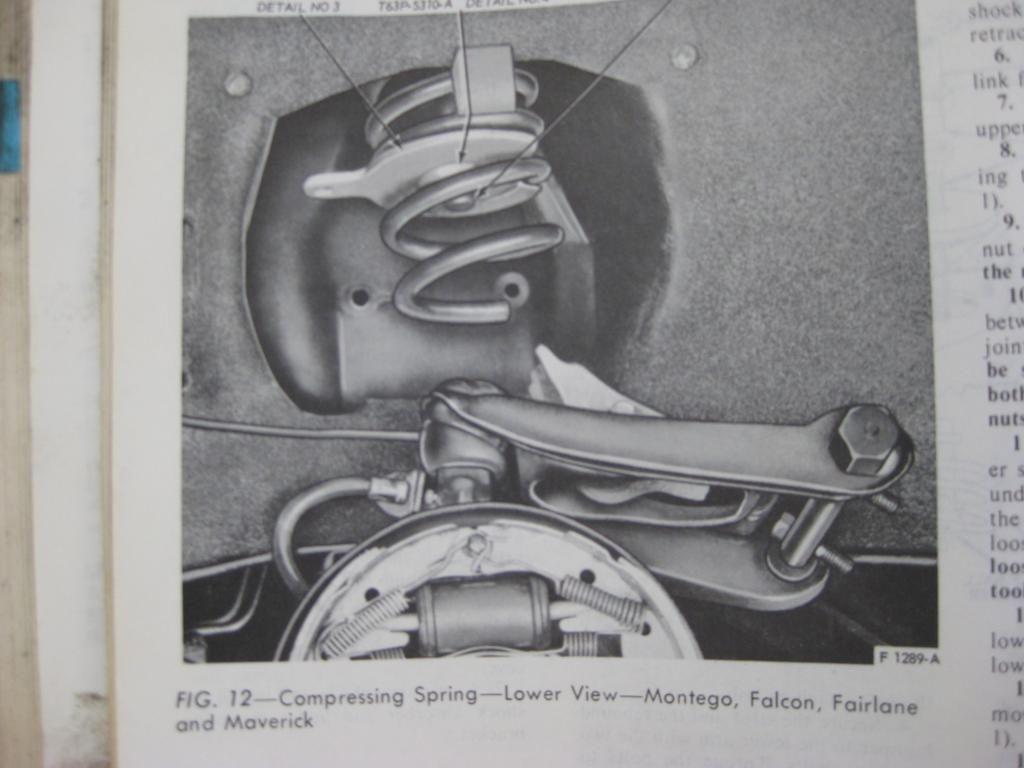
The spring can then be de-compressed and lowered out.
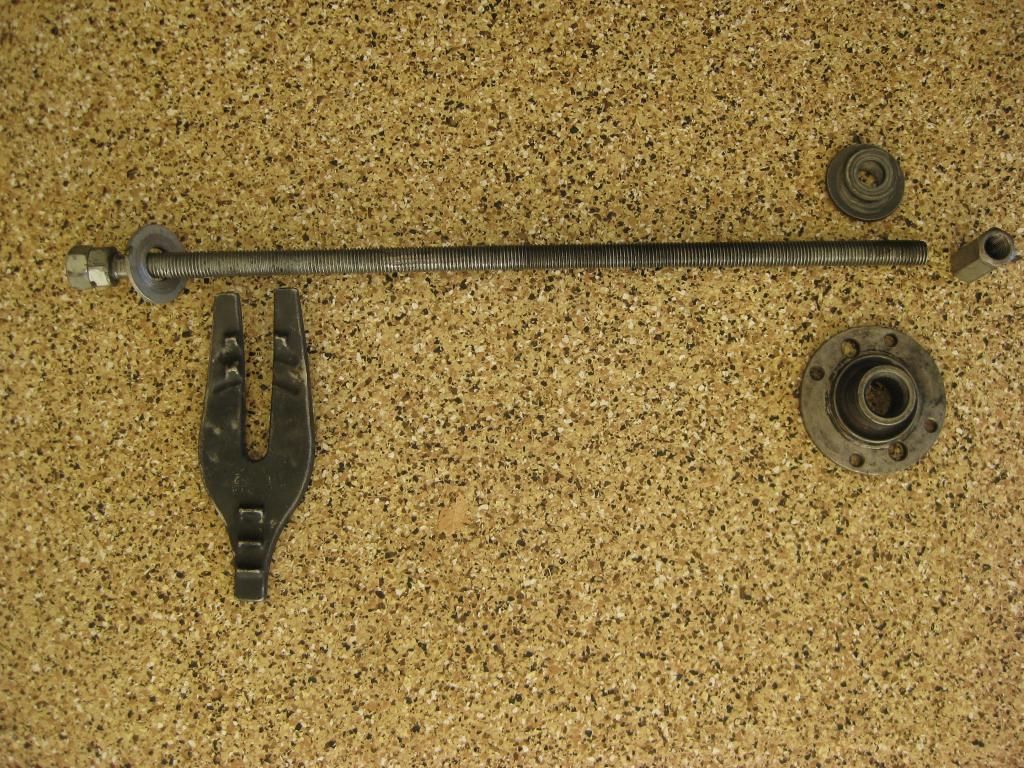
A mechanic friend of mine has made a coil spring compressor tool that mimics in some ways the tool that is shown in the Ford shop manual. It basically compresses the spring with a plate that sits on top of the shock tower and a threaded rod that attaches to a fork that hooks onto one of the coils. The fork is actually from an old Snap-On spring removal set and I’ve seen similar ones in my on-line search for spring compressors. It looks like a similar tool could be made fairly easily and there may in fact be something similar already made.
Although the Ford approach does seem better than the one in the YouTube video, I still didn't like the idea of compressing the spring far enough to clear the A-arm. In looking at the way the suspension hangs when the car is sitting on the jack stands, it seemed like the coil was almost fully de-compressed. Since the stock spring height is 14 ½ inches, a measurement confirmed that at just about 13 ½ inches, it is almost fully de-compressed.
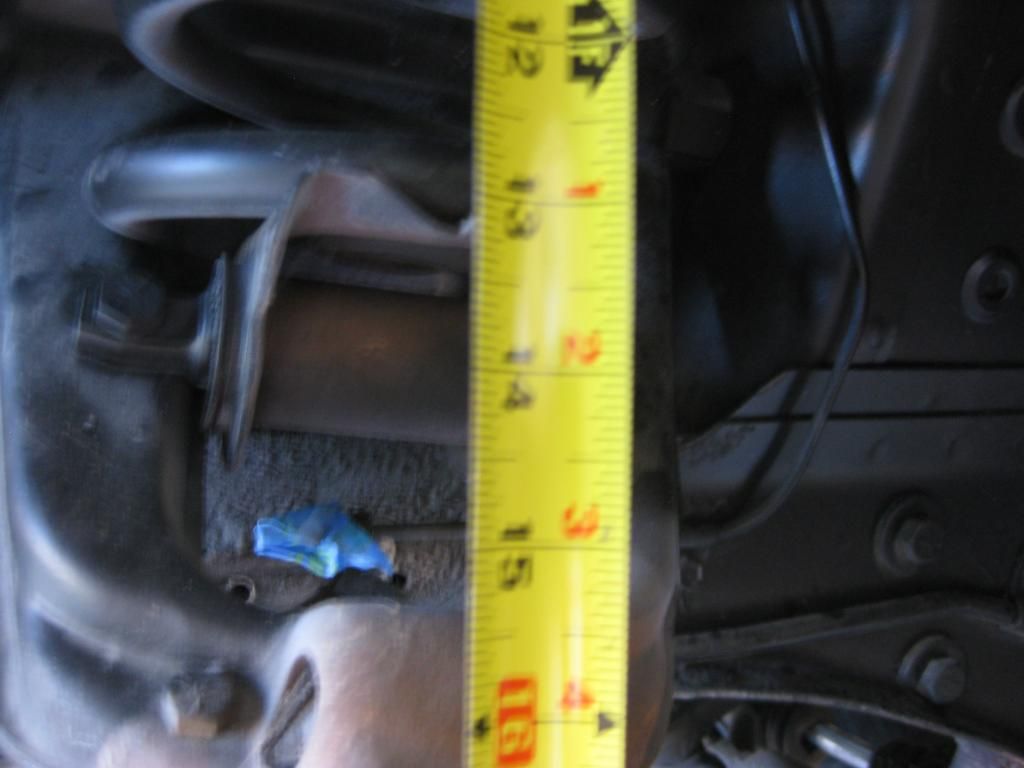
What I ended up doing was compressing the spring just enough to release tension on the spring perch/A-arm. The spring now measured 12 inches.
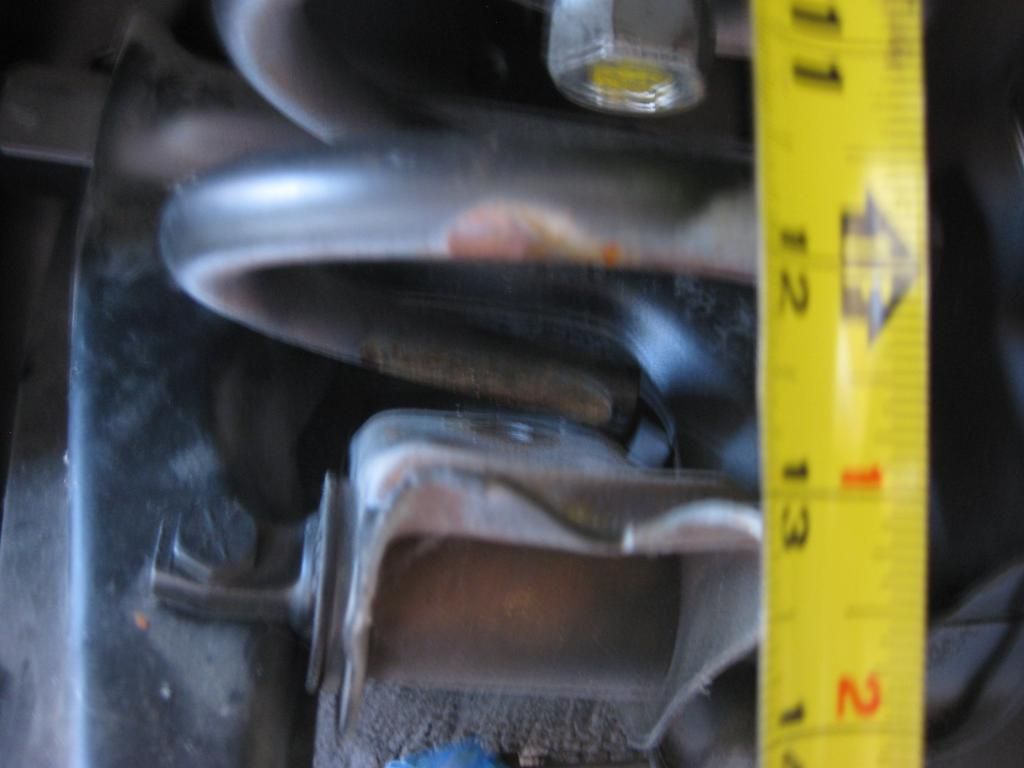
I then removed the spring perch.
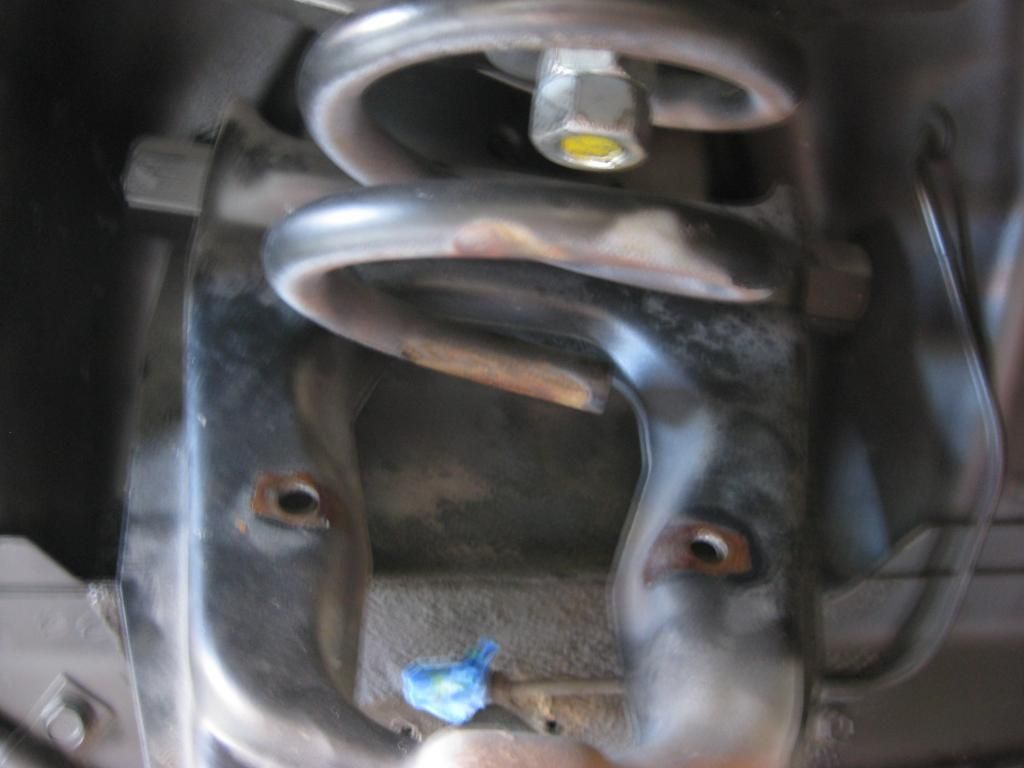
Although this certainly seemed much safer than the huge amount of compression required with other techniques, I wasn’t happy with having my mug up inside the wheel well while I was doing work. Therefore I used my own Personal Protective Equipment (PPE):
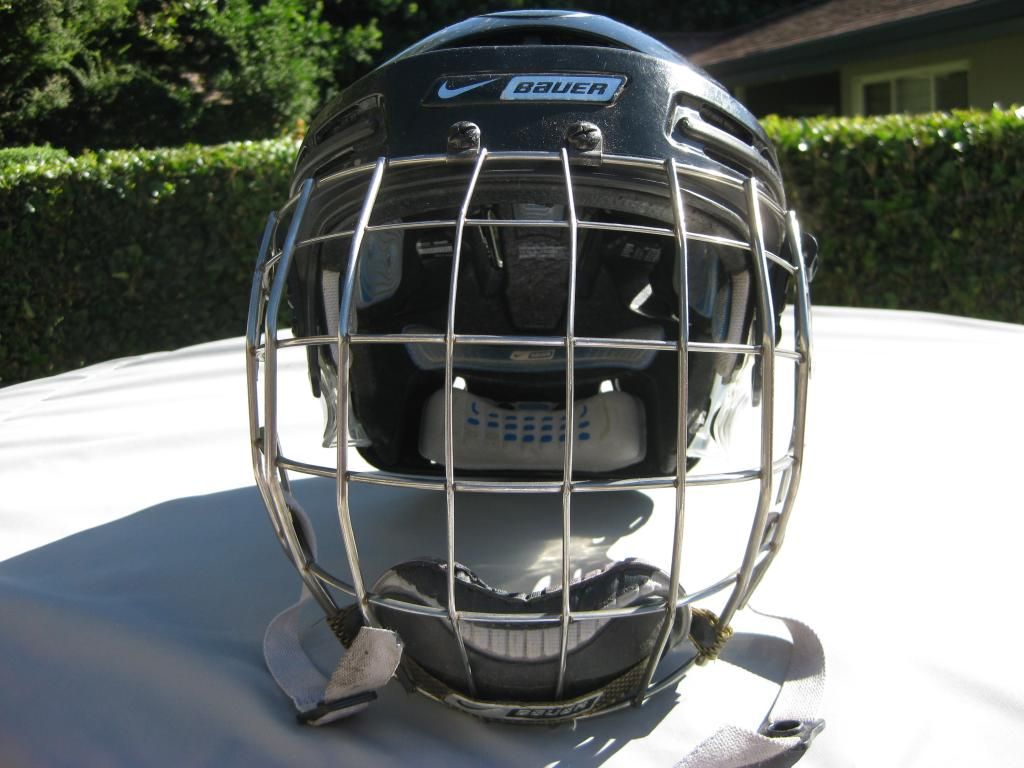
This one is NHL approved!
I then broke loose the ball joint on the upper A-arm from the spindle using the Pitman puller technique in the above YouTube video and that allowed the A-arm to drop a little more.
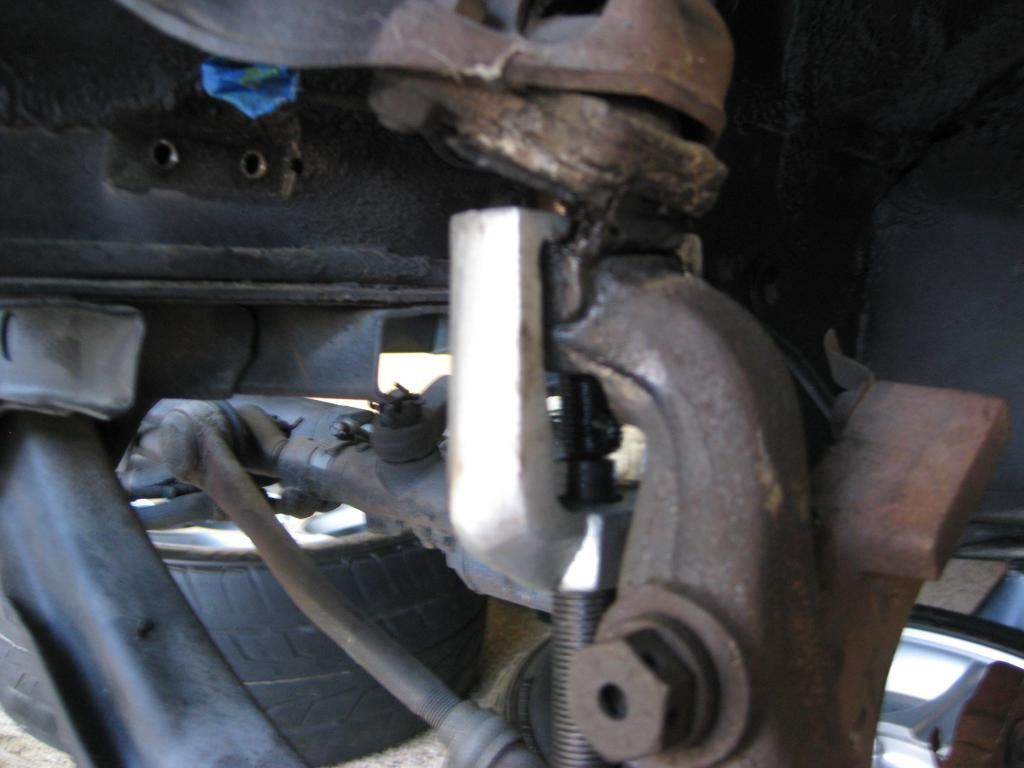
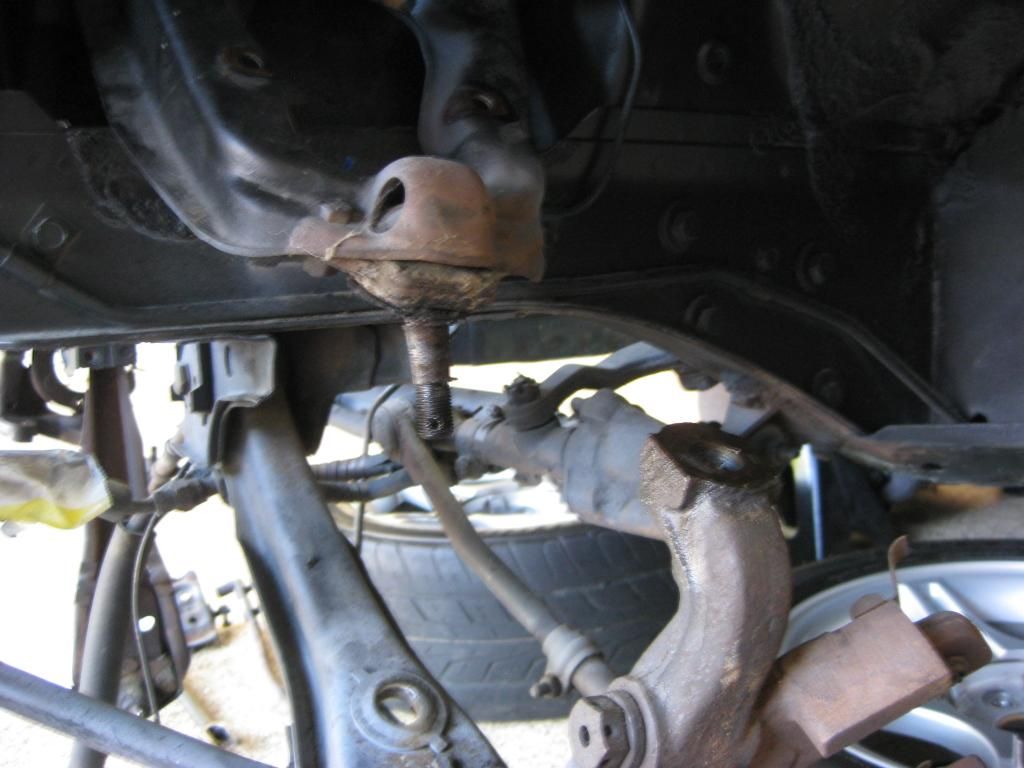
Next, I put some heavy duty cardboard in between the bottom of the spring and the A-arm. I’m not sure this was really necessary but it looked to be better than the spring resting on the A-arm as I de-compressed the spring.
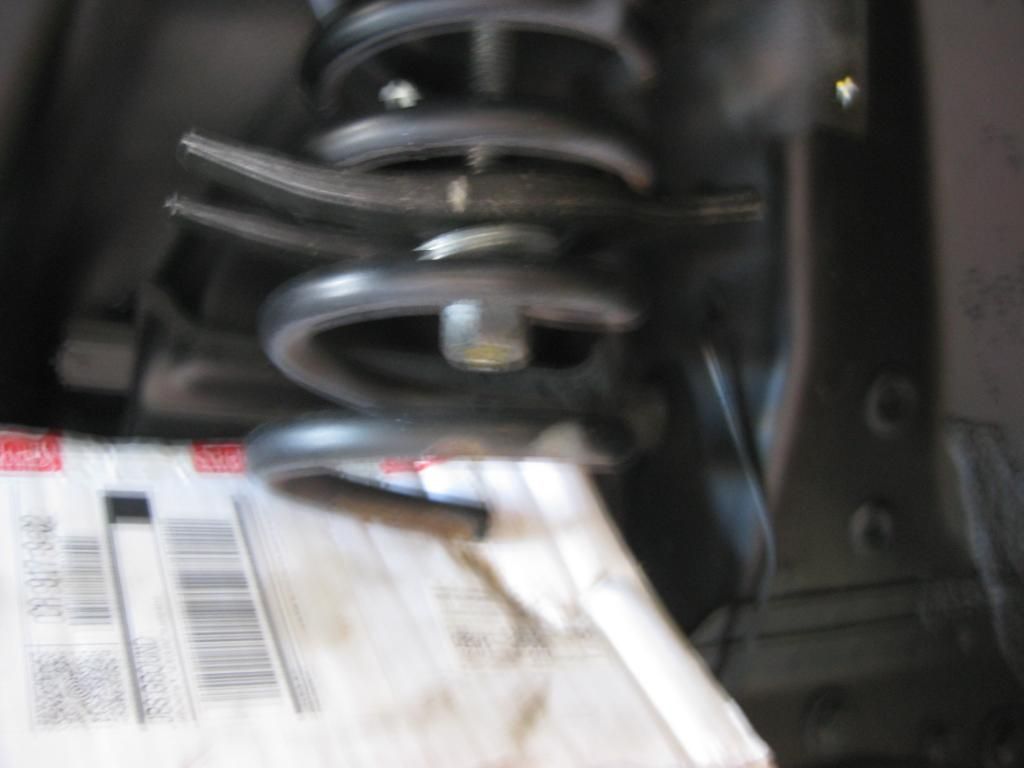
Because it wasn’t compressed all that much, I saw no need for safety chains on the spring as shown in the YouTube video. After I de-compressed the spring to the full static position, I disconnected the fork and it dropped right out. The first spring took me several hours to do, mainly because I was trying to figure everything out and making sure I wouldn’t hurt myself. The compression and removal of the second spring took about 45 minutes, with 15-20 minutes spent removing some stubborn spring perch nuts.
Maybe this is old news for all of you veterans but my search never pointed me in this direction. It also may not be the way you’d do it if all you wanted to do was to replace the springs.
For the re-install, I plan to go in a different direction using this tool I bought from West Coast Classic Cougar (
http://www2.cougarpartscatalog.com/store/p/14122-Coil-Spring-Compressing-Tool-New-1967-1973-Mercury-Cougar-1965-1973-Ford-Mustang.html):
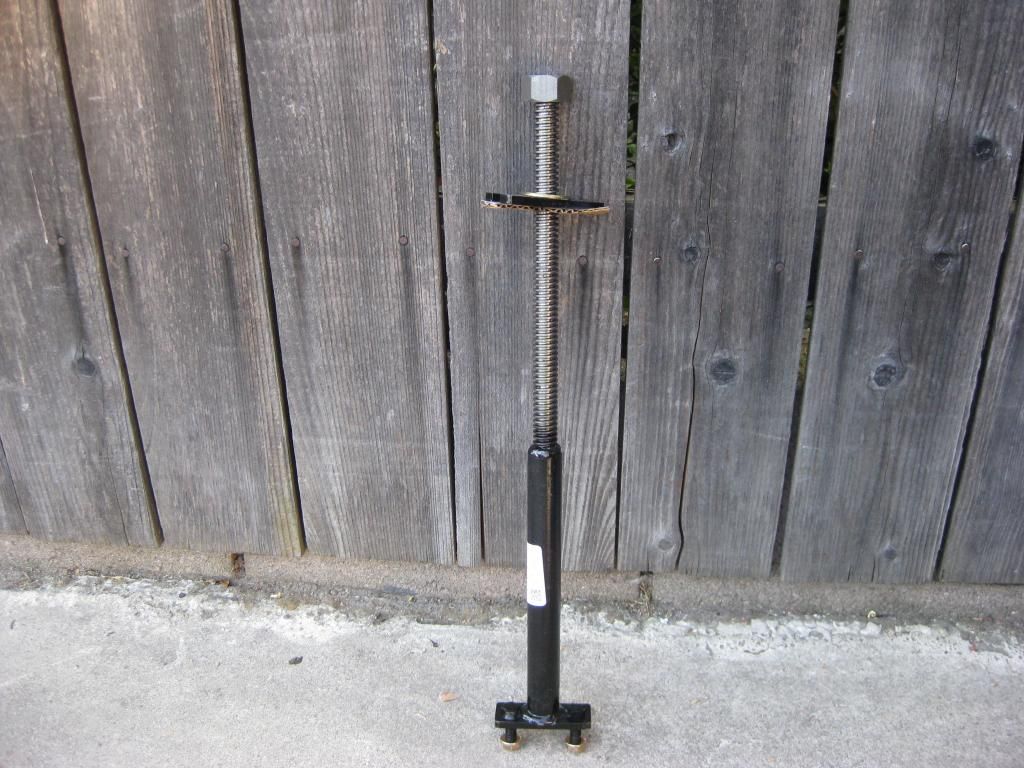
As their instructional video shows, you attach it to the spring perch first and install it and the spring as a unit. Here again, minimal compression is required with this technique and based on what I saw while I was removing the spring, it could save you the hassle/frustration of lining up the end of the spring with the spring perch tab when you de-compress the spring using other methods. I’ve since seen similar tools on-line for a few bucks less but do your own homework on quality, value, etc.
I hope this tip helps.
Stay safe!