Have had these pictures sitting around since I reproduced some of these last year and never got around to posting.
Since the beginning of this site we've always tried to offer ways for owners to make or do things themselves by posting DIY threads. Sometimes alternative methods of getting the tasks done are available or have become available at a later date, example the tin/lead dipping for the gas filler necks, but some of us just like doing our own work. Sometimes these production methods can be applied to other projects and by sharing we all learn and grow.
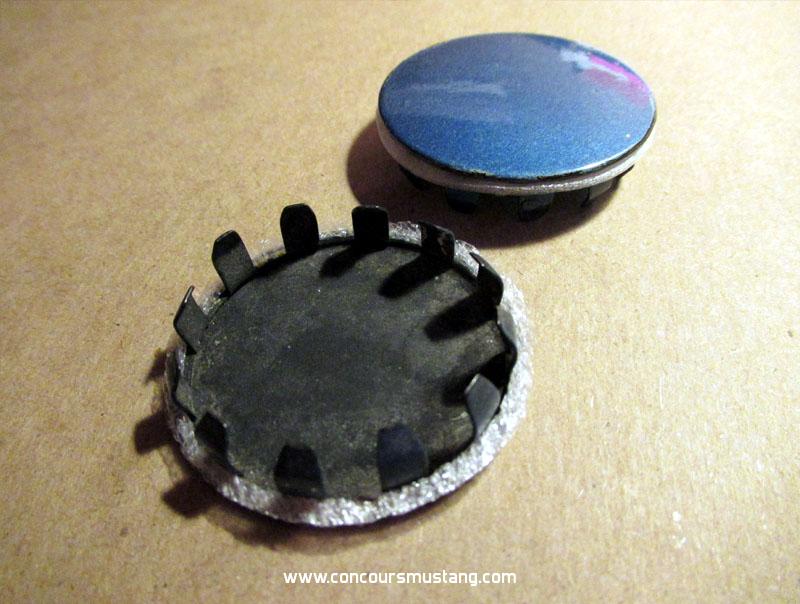
On 1965-66 Mustangs rear door edge there are two hole plugs formed from sheet metal and inserted in hole holes that offer access to the rear window run as shown in the picture below
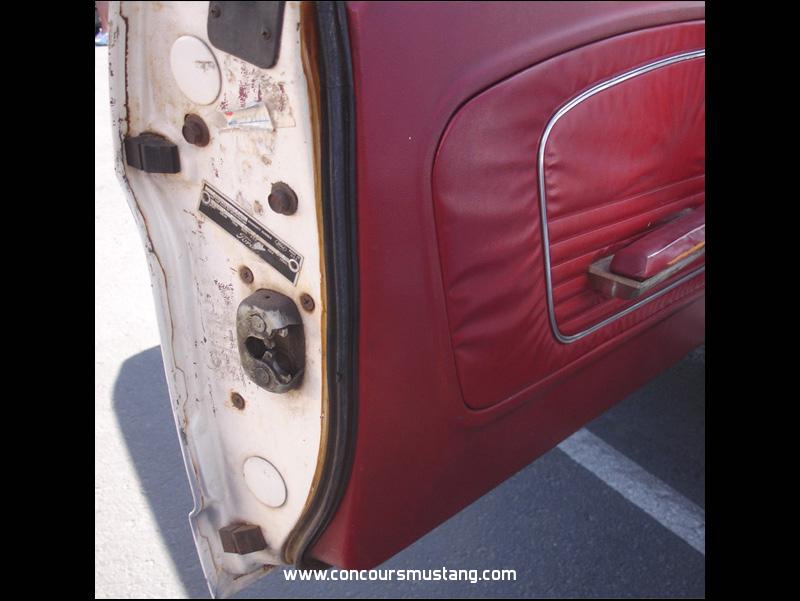
Originally each of these had a thin whitish foam gasket that often collapsed and deteriorated over the year
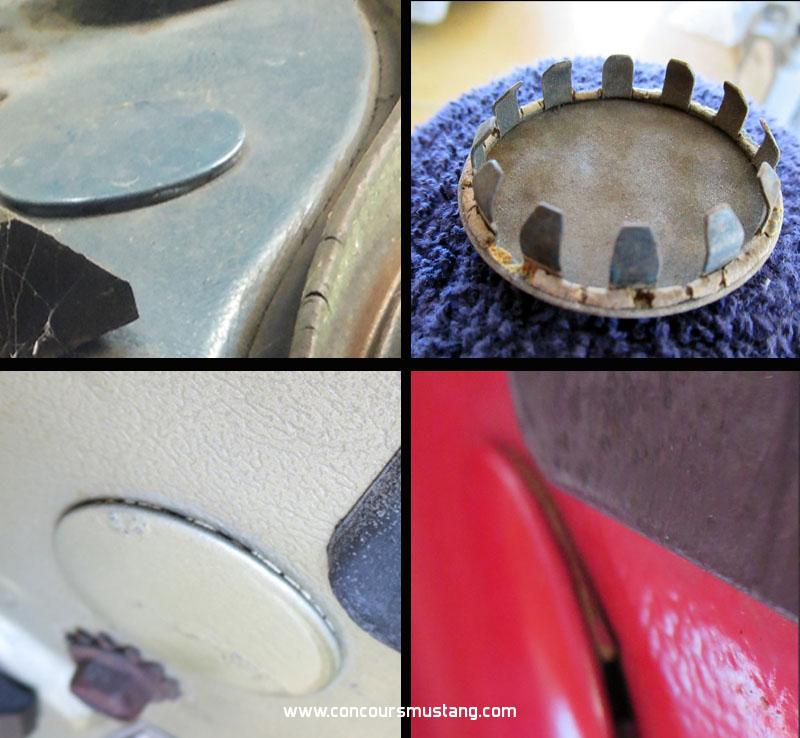
I first found the foam product when I received some parts wrapped with cushioned bubble wrap. Playing with the stuff I found that brand was using a very thin layer of white open foam to add additional padding between the two layers of bubbles. Next went on Amazon and found a nicely made circle cutter that had a ton of pres-set holes and a outer ring to keep it in place and allow me to apply downward pressure while cutting. After testing multiple methods can came up with one that produces consistent outcomes though I mess one up every once in a while.
I did run out of the bubble wrap material quickly but was able to purchase a roll with 12" square sections preformed in the roll making handling it for my purposes much easier. Currently I can make enough for two dozen cars is a fairly short amount of time. Sure I'll find some other applications for the cutter in the future.
Below are the steps I use to create these gaskets. Hope this helps others directly or indirectly
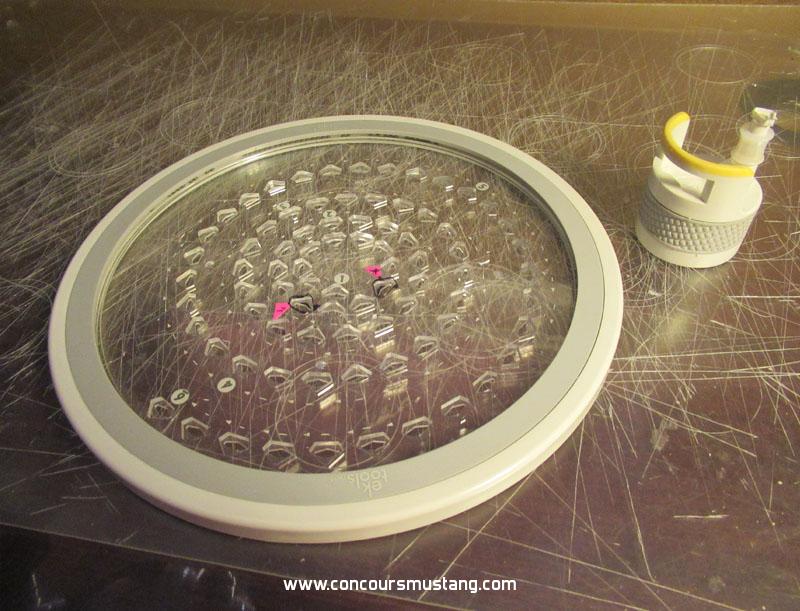
- A look at the tool. Outer ring stays stationary and the inner clear plexiglass section turns on a set of ball bearings. The cutter at the top right inserts into one of the marked holes and when pressed cuts what every is directly below with a cutting blade.
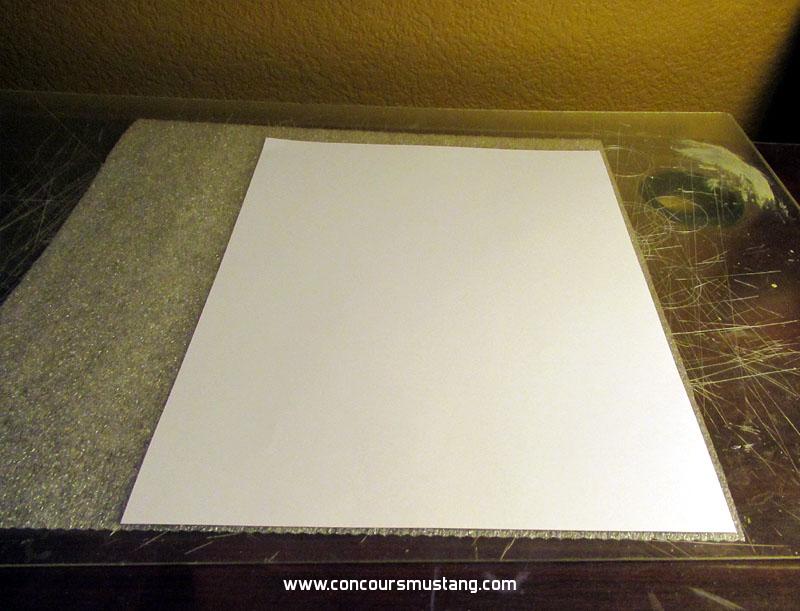
- I use a sheet of plexiglass as a base to do all my decal, sticker and hole cutting. The sheet of foam and a piece of printer paper are positioned on the plexiglass. Took me a while but I found that by placing a sheet of paper over the foam the blade would cut cleaner. Without it the foam would more likely pull and tear.
- I premarked the inner and outer measurements on the plate so I would not have to keep finding the right hole each time I wanted to cut
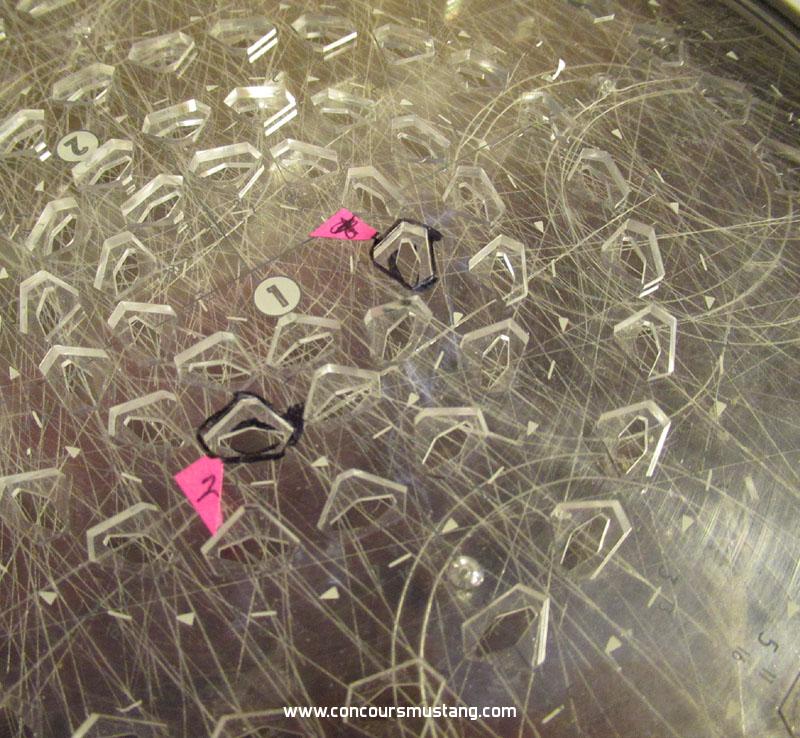
- Making sure you have enough room you position the cutter. Don't want to be too close to the edge or the other cuts
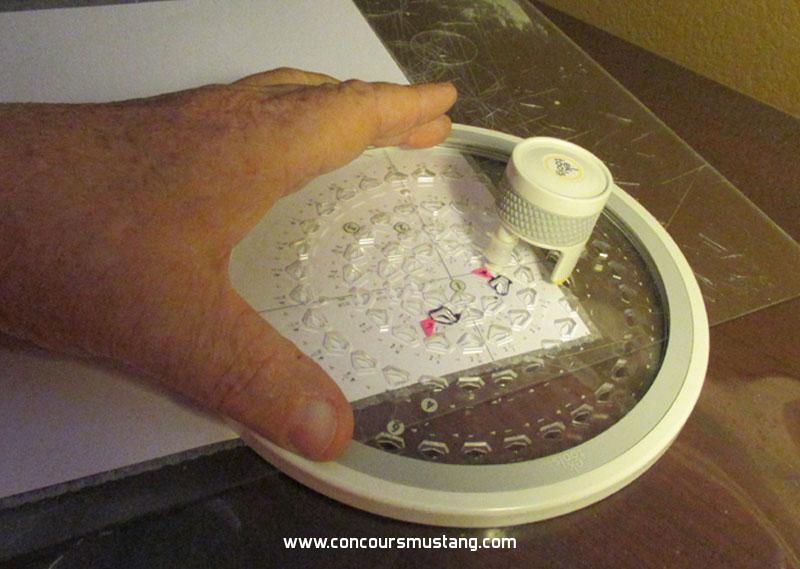
- While holding the frame in place with you one had your cutting hand inserts the cutter in the hole marked 1 1/2" hole pressing downward. From there you make a circle in either direction with a smooth slow pace as you press with both hands.
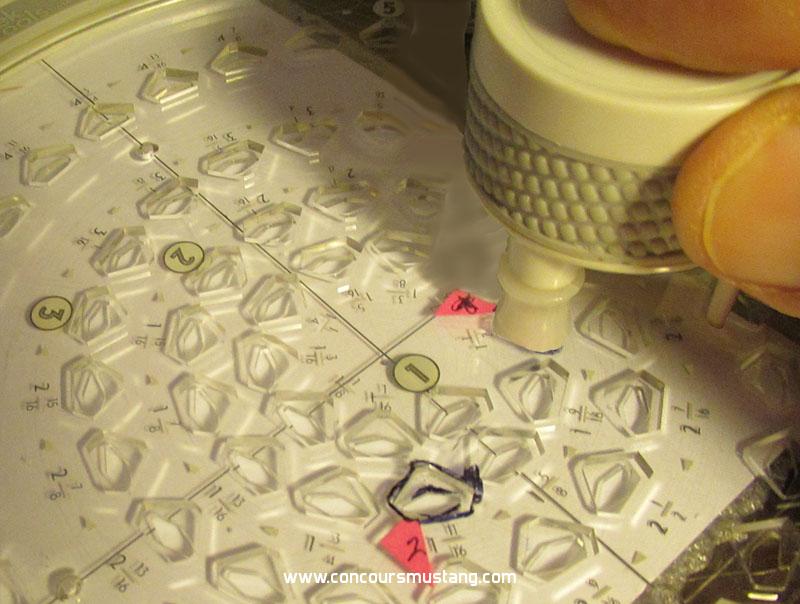
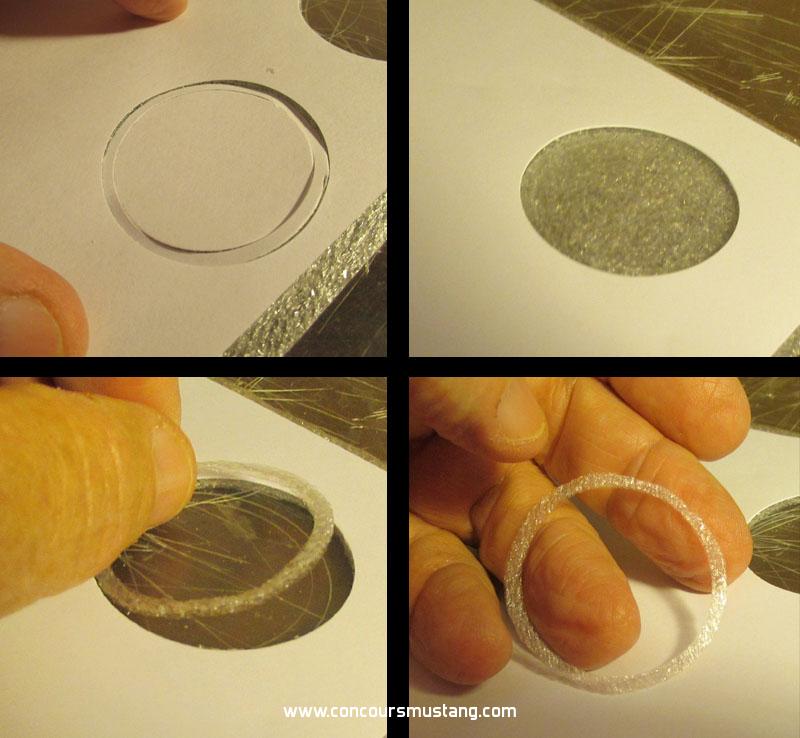
- With the hand your not using to cut with holds the frame tightly against the paper and foam you move the cutter to the next , outer diameter hole at 1 11/16" and make th ecut as you did the first cut
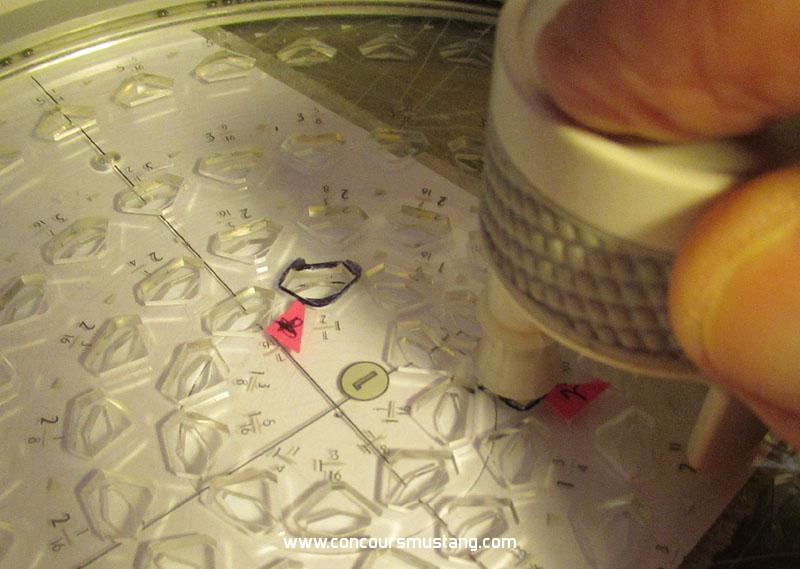
- From there you remove the cutter then frame and retrieve the gasket
A look at the finished product installed on a couple of original door plugs
When installed on the car the gasket is barely visible but its just another detail that makes your car closer to what it was originally

Again hope this helps others and inspires other to try new ideas and methods.