Had a good time at the MCA meet. Met a few people from here! The heat index made it over 100*.
I've gone and back and forth on this topic for the last week and tried approaching this from another angle. The patterns Jeff showed are a bit random -- some suggesting up, some suggesting down and others are just a mystery.
So I went back to what would you do as assembly line work chief and/or worker? What works and what is fast? And, given that these cars are going to be shipped, how do you lower the hinges after painting? Un-tensioning the rod invites window/trunk filler damage.
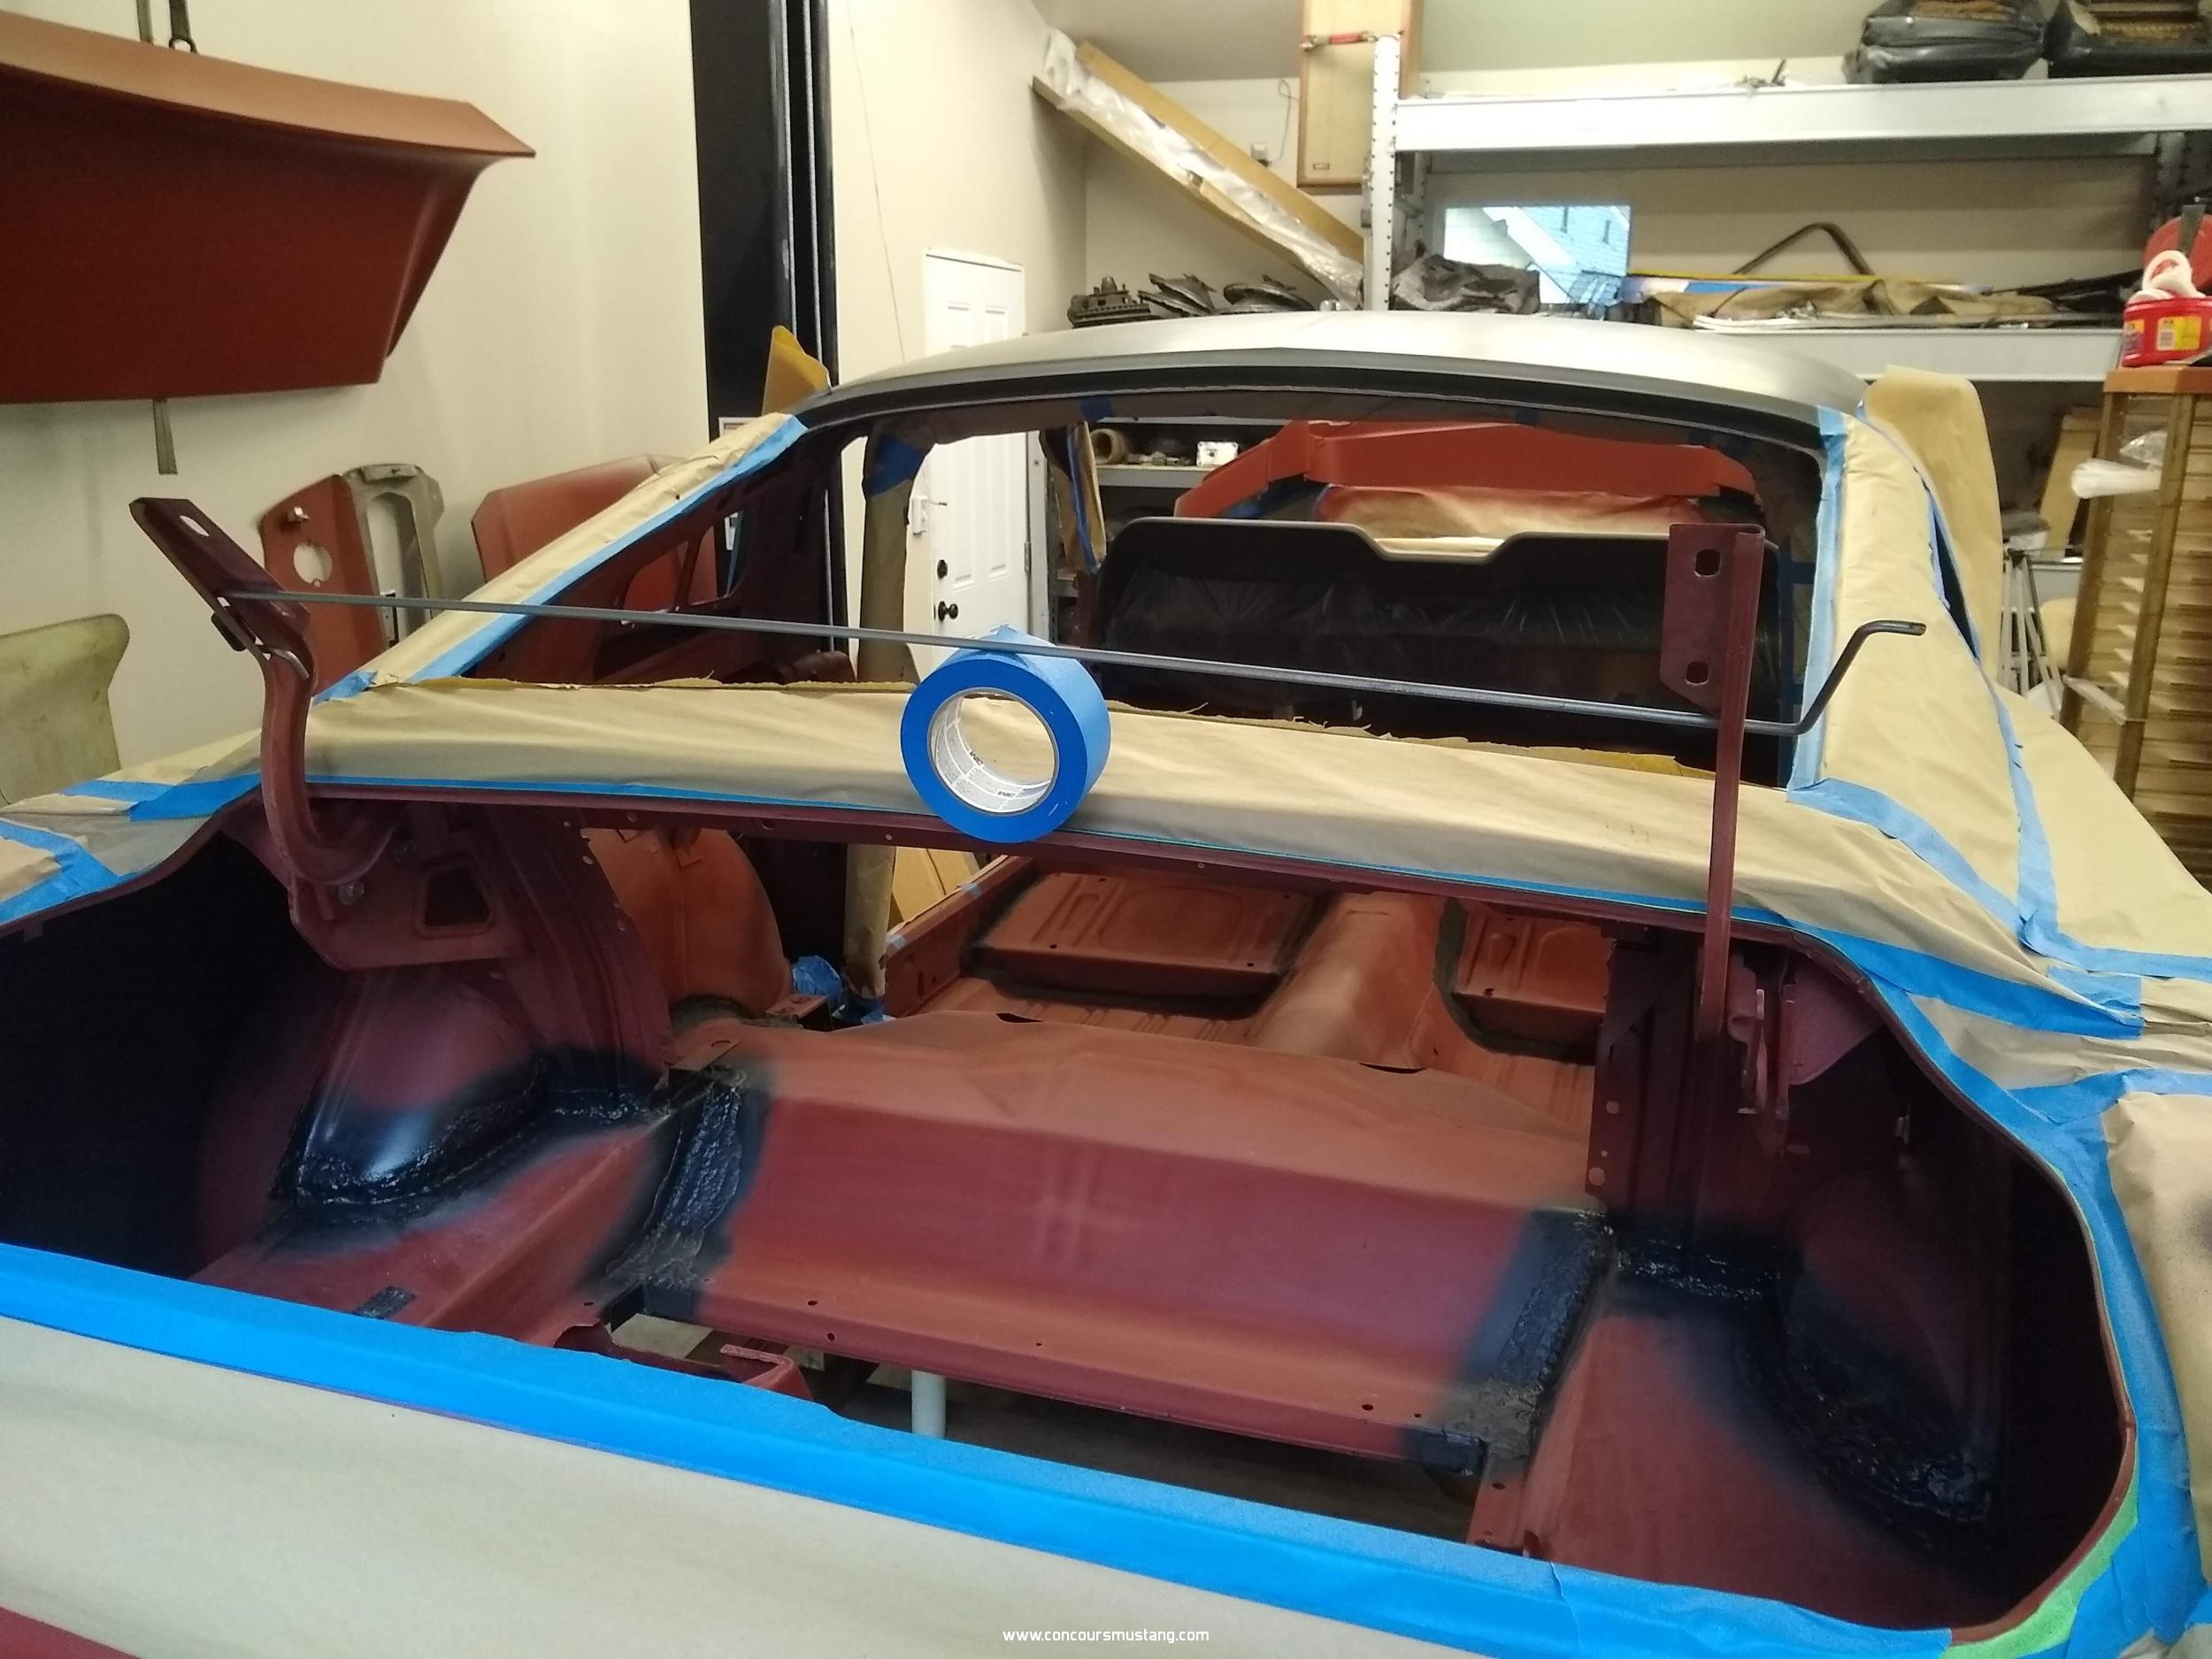
Simple is best. So I flipped the torsion rod around so that it would not hit the window filler piece regardless of position. We want the rod in this position later for shipping anyway. When its flipped into the correct position at SA it doesn't appear to change any paint (or lack of paint) marks.

Place an undefined tool into the gutter -- here I used a roll of tape. The height of the tool determines how high the hinges go. The factory could use a metal rod of some type. Now, paint the inside of the trunk and the hinges. The light coat on the underside might be a particular painter who wanted less over-spray on the body since the paint would move up and forward.

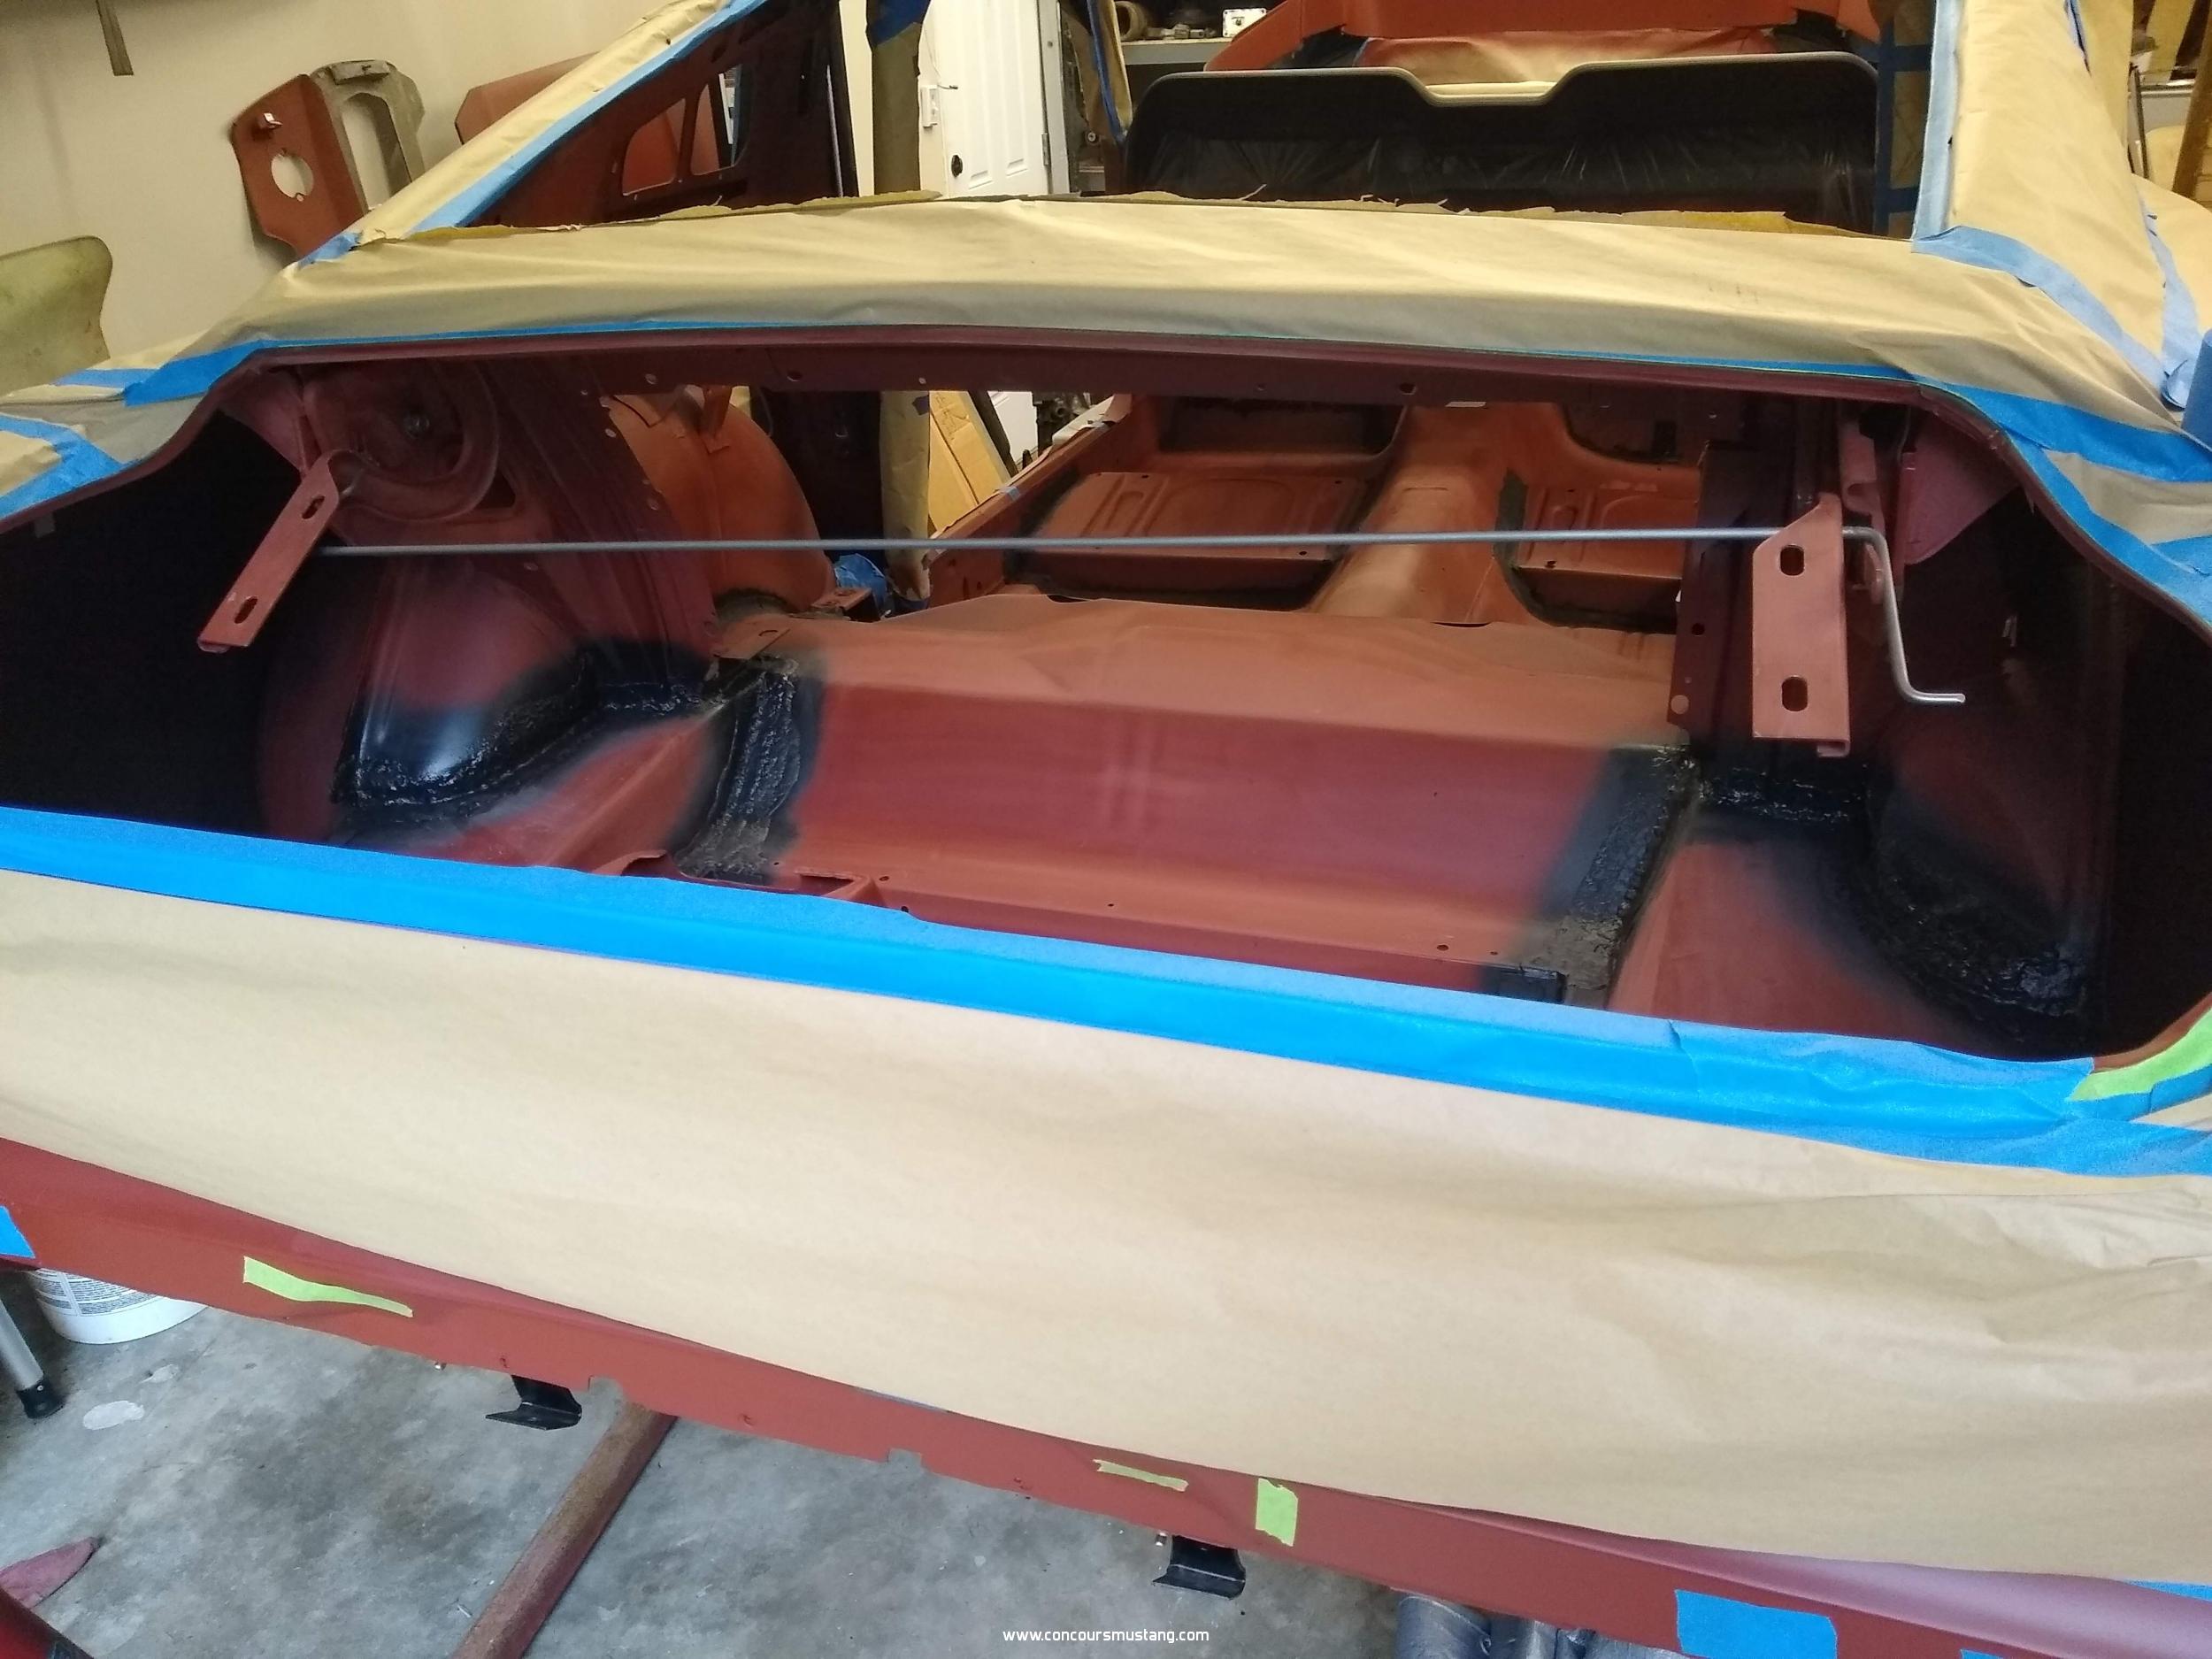
When the inside is complete remove the tool and let hinges and rod move into the trunk.
As the painter moves to the body the top of the hinges gets painted by overspray as he paints the gutter and filler as well as the area where the tool sat. He can also get to some of the hinge curved section. Note that having the hinge up and then down coats all sides of the rod.
The second pic here looks a bit like the factory lot pic, including the angle. One other thing to consider is that new hinges could be fairly tight and with nothing on them other than the rod, they might just stay in almost any position.