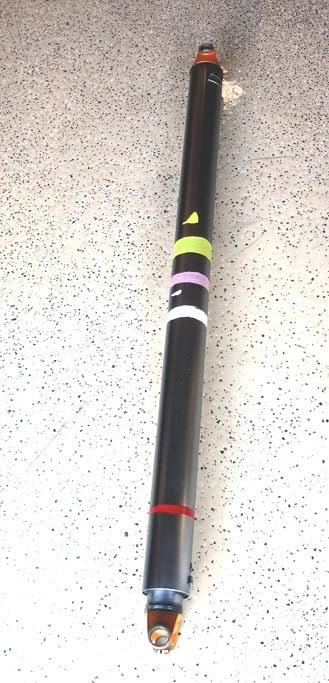
TIME: Approx 4 hrs depending on condition of the driveline
SUPPLIES:- Assorted rags
- 000 Steel wool
- Assorted sandpaper 150-600/800
- 4 oz bottle of liquid gun bluing repair fluid
- Automotive striping tape approx 40 ft
- Spray can of satin clear, protective oil or protective wax
- Optional (based on class) spray can of cast colored paint for end yokes
- Assorted bottles/spray cans of modeling enamel for paint mark reproduction [/color]
+++++++++++++++++++++++++++++++++++++++++++++++++++++++++++
Recently I was faced with the task of restoring a driveline for a car I was doing.
The way I had it figured,
1. I could buy a new driveline with all the details done (cost a bit and no real challenge)
2. Could have the tube replaced with a bright shinny new one (cost is less but I lose the original weights)
3. Restore the one I have. It’s not badly pitted plus I could try out a idea or two concerning reproducing the finishes
Pretty easy to figure out what I choose.
1- First I lightly blasted the driveline to remove any rust, corrosion, paint and whatever had built up over the years.
Be careful not to add any more texture to the surface than you have to. The more you add the more you will have to sand out later.
2- Next I sanded the tube lengthwise working my way (as the slight pits and scratches disappeared) up to 500 grit sandpaper.
3- Next the fun part. Since this is going to be a Concours restoration I could use a little paint to get me where I needed to be. In that case I would paint just the end yokes with a cast iron paint that I found matches the original look well. When applying I would make sure that I did not color over any of the welding beads that formed the mating edge between the tube and yokes.
Instead, for this project, I choose to do it as I would a Thoroughbred car and choose gun bluing solution discussed elsewhere to bring the freshly blasted yokes back to where they need to be as far as tone and tint.
I like to wire brush my parts before I add the gun bluing since I find that it produces a better final look in the metal.
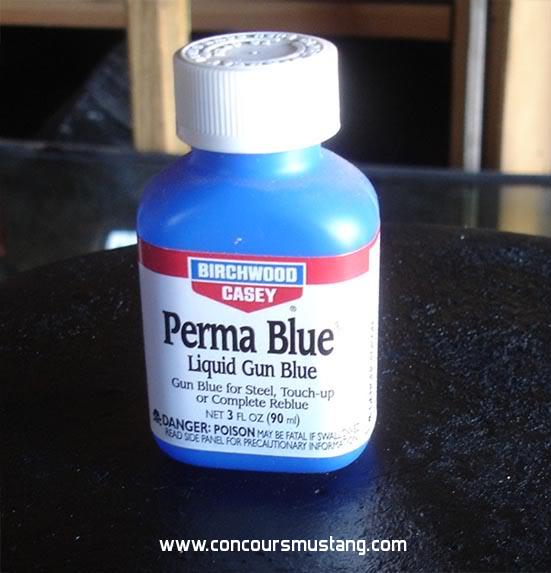 4-
4- Using the gun bluing solution and a brush I spread the liquid over the welds found on each end of the tube.
Next, with a rag, I applied a band (soft outer edge on the tube side) of bluing on the tube. This would reproduce the heat bluing that would have been produced when the two items were welded together.
While I was at it, I added a little “heat” to the driveline weights. Though dark now they will tone down as we work the surface.
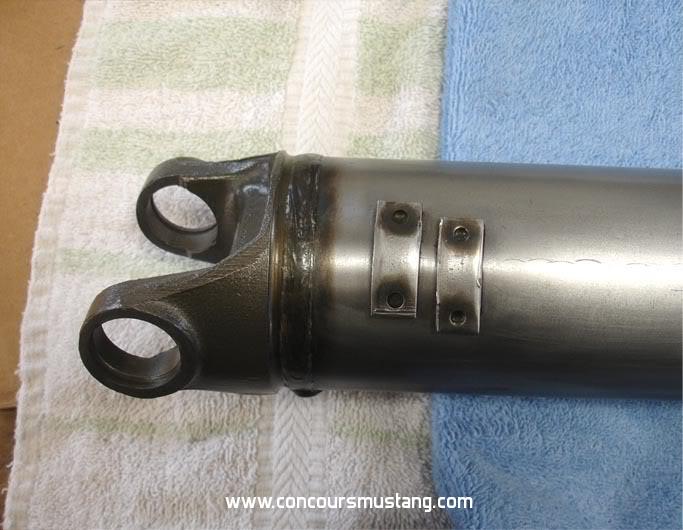 5-
5- With 600-800 grit paper I sanded down the edge of the bluing and in, slightly, to produce a smooth transaction between the bare metal of the tube to the look of the darker gun bluing near the weld. All this all takes in approx ½”
NOTE: Don’t forget to brighten up the machined surfaces on each yoke. Really makes a difference in the final look.
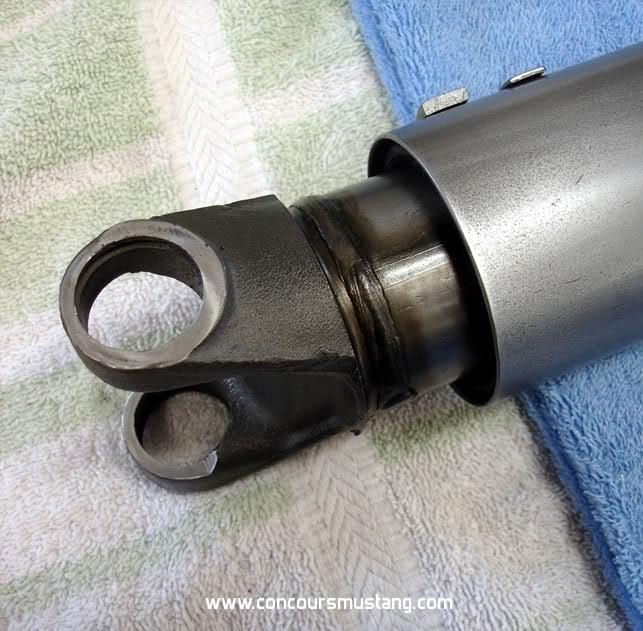 6-
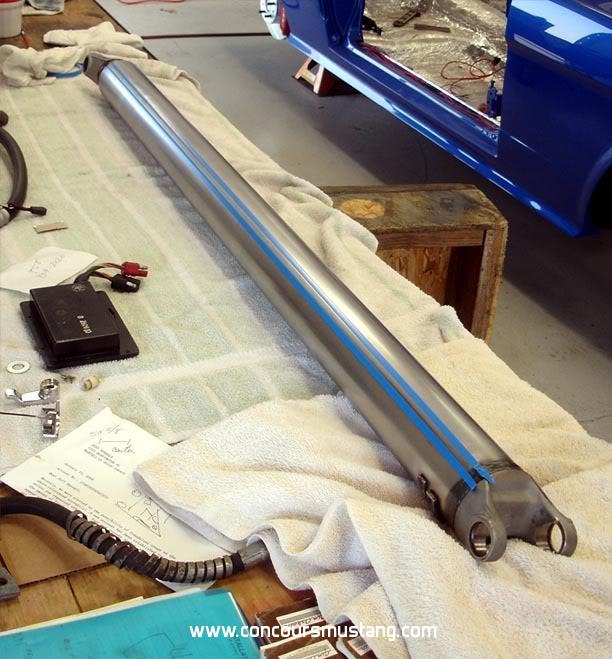
6- Next I found the original seam in the driveline tube. This is where the flat piece of metal was formed into a tube and welded the complete length. Like the ends of the tube this seam would also show a heat line originally. It would have been darker at the center, fading out to nothing at the edges.
To reproduce this I first laid out two lengths of stripping tape approx 3/8” wide and then, with a rag, applied a uniform coat of gun bluing, working it into the rag and tube as a rubbed. I did this twice to insure a dark line.
 7-
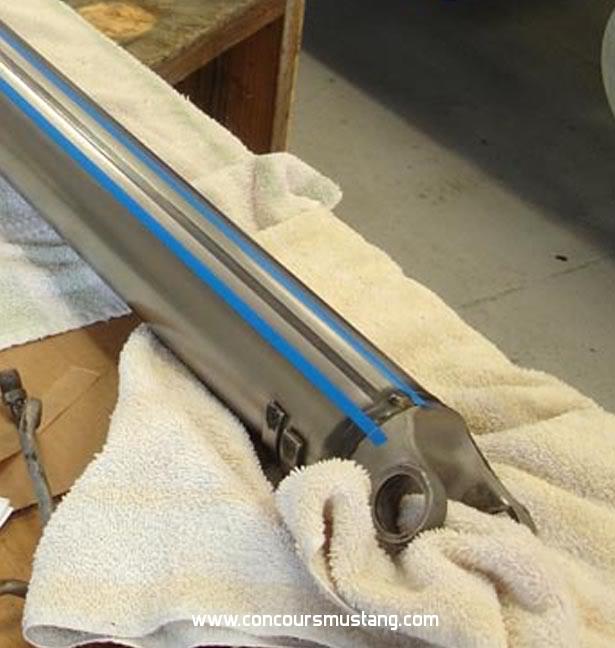
7- Next I remove the tape and then reapplied two more strips of tape approx ¼-3/8” from the edge (on each side) of the first stripe. To this I applied a light coat of gun bluing using a rag one more time, working it into the metal and the rag leaving no liquid on the metal.
 8-
8- Finally I removed the last of the tape and lightly sanded the heat stripe and the edges so that all noticeable signs of the tape (sharp edges) were erased and the overall look was muted. Once you get a good consistency (one end to the other) stop!
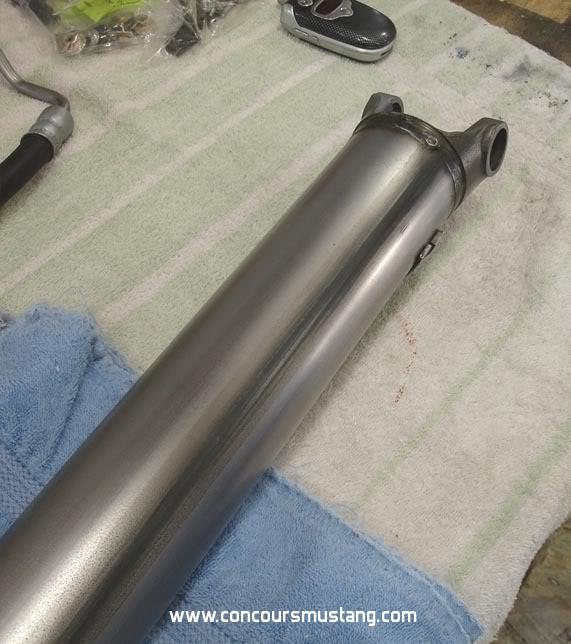
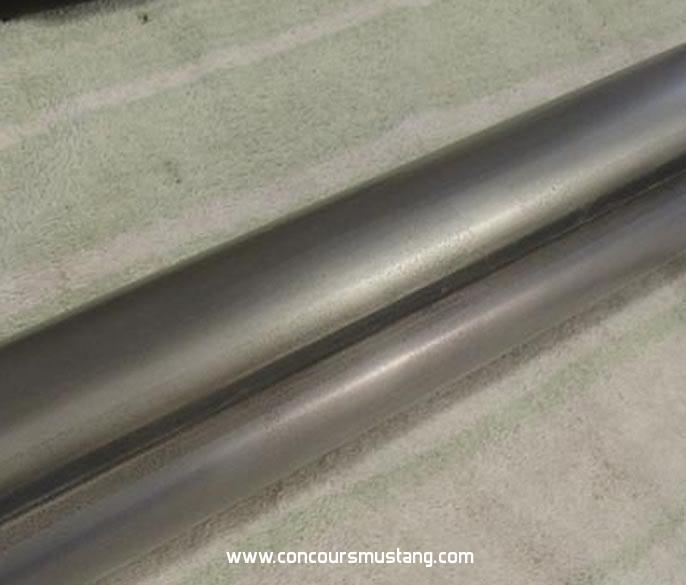
This driveline happened to be of the tube-in-a-tube design so I could not forget the heat seam on the inner tube.
 9-
9- At this point you can apply the original paint marks to the tube and yokes, if you found any. If not simply leave them for later..
Follow that with a light coat of satin clear or a spray wax or oil to finish.
Now stand back and take pleasure in a job well done.
